Blog
Download Pikpak Cloud Folders with Rclone: A Quick Guide
Certainly! Rclone is a powerful command-line tool that allows you to manage and sync files between different cloud storage providers. To use Rclone to add Pikpak Cloud and download a folder, follow these steps:
Step 1: Install Rclone
Make sure you have Rclone installed on your system. You can download the latest version from the official website: https://rclone.org/downloads/
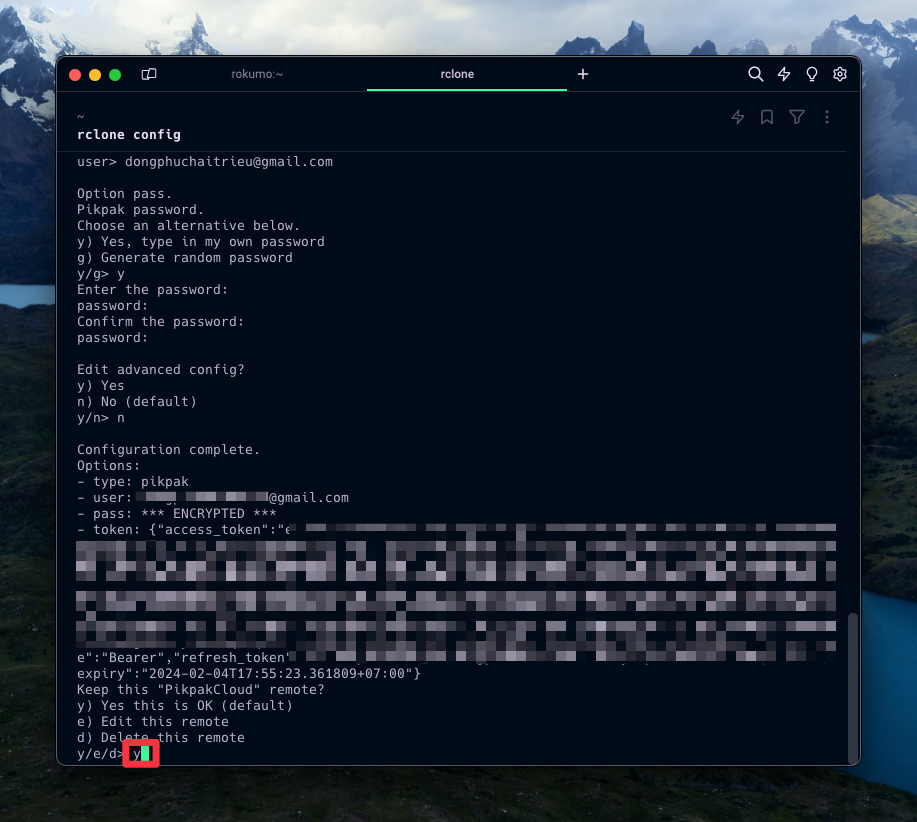
Step 2: Configure Pikpak Cloud with Rclone
Open a terminal or command prompt.
- Run the following command to configure Rclone:
rclone config
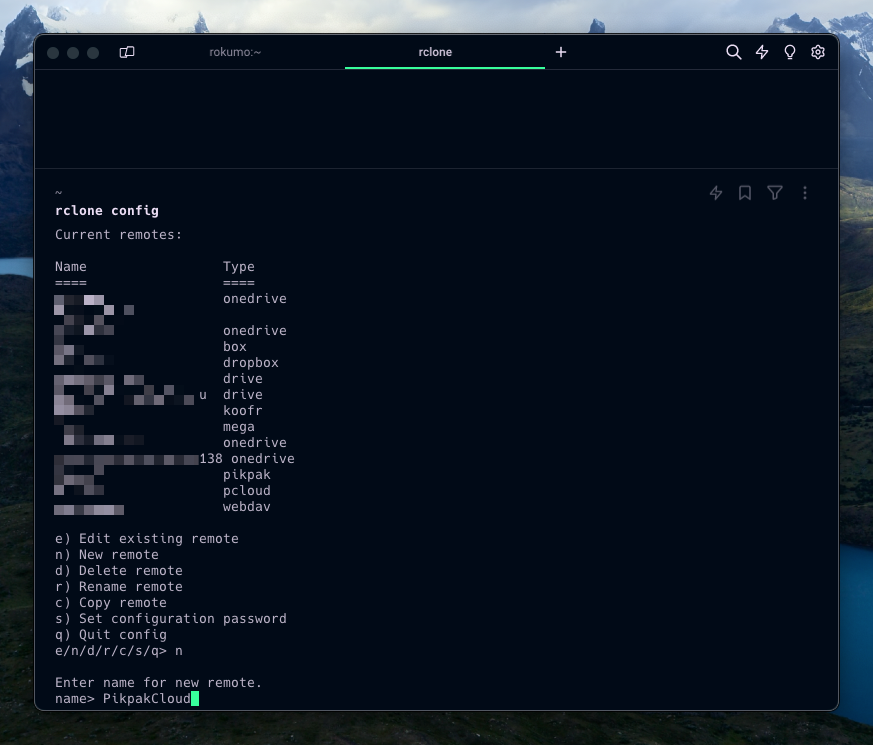
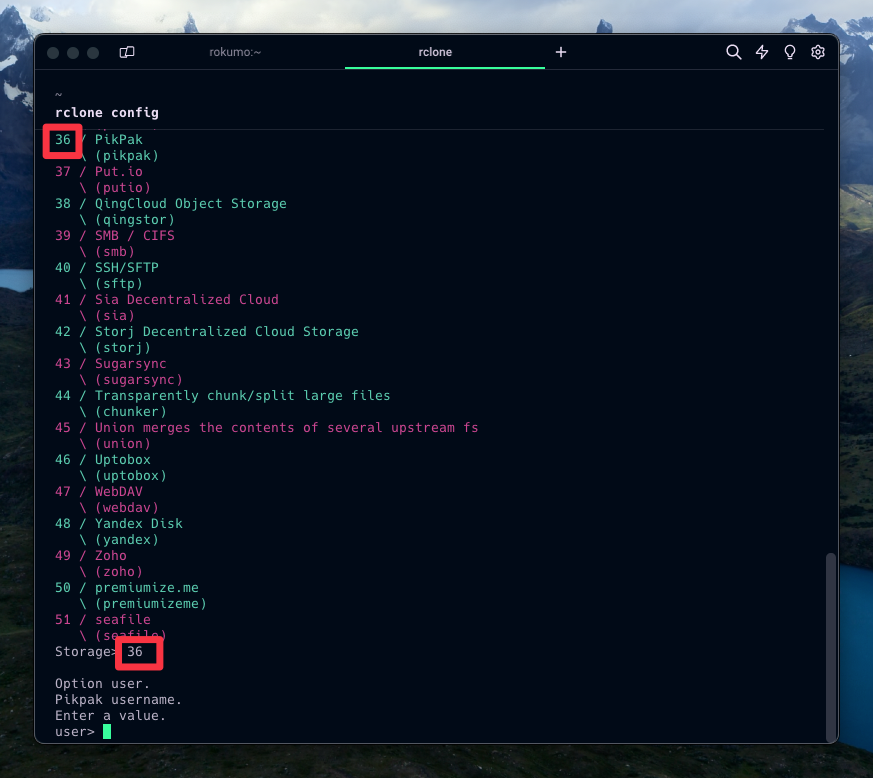
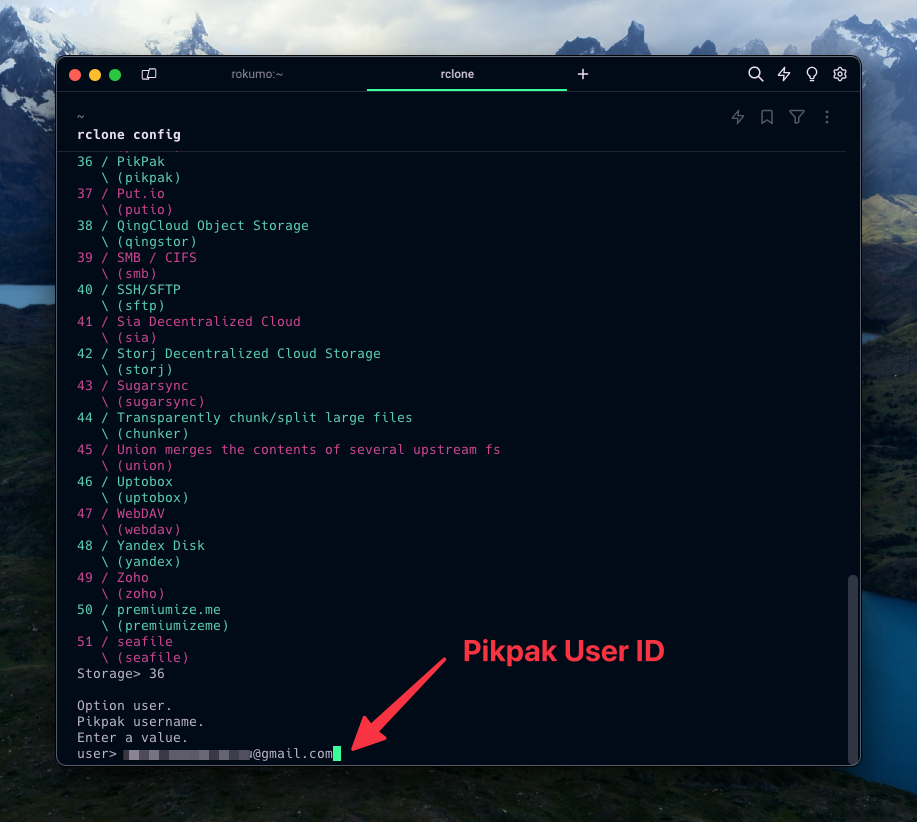
- Choose the number corresponding to “pikpak cloud storage” (or the appropriate option if available) and press Enter.
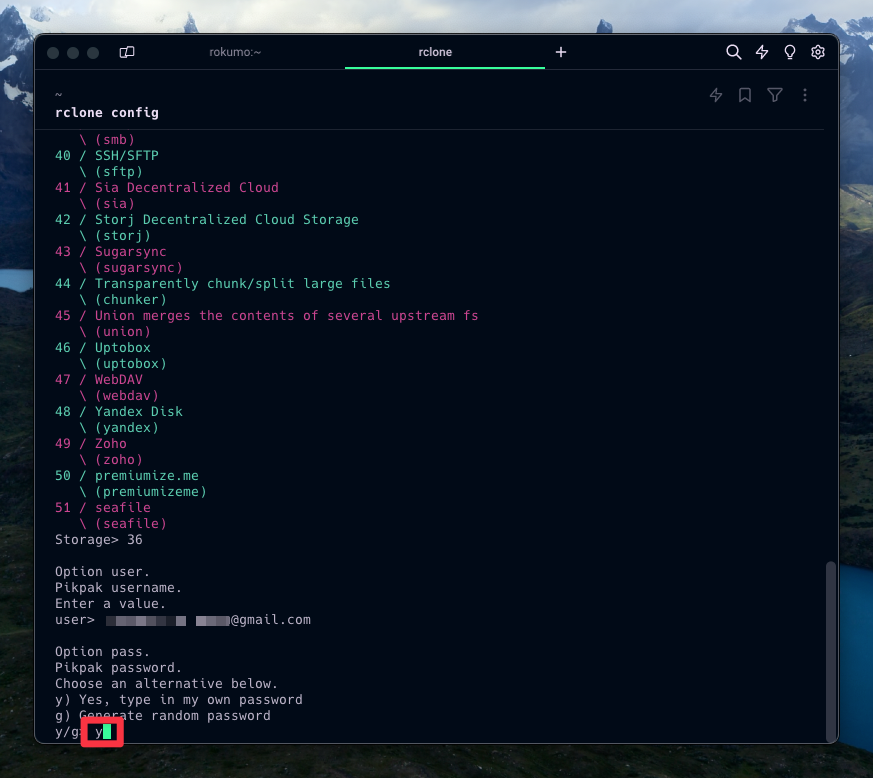
- For “client_id” and “client_secret,” leave them blank unless Pikpak Cloud provides specific values for them.
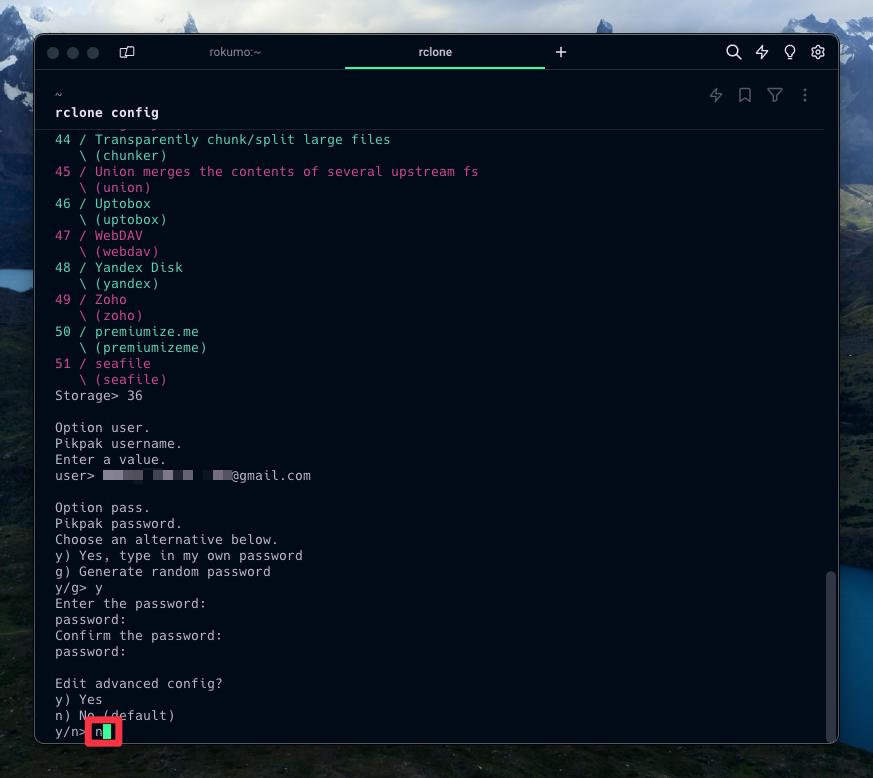
- Choose “n” for “Edit advanced config?”
- Choose “n” for “Use auto config?”
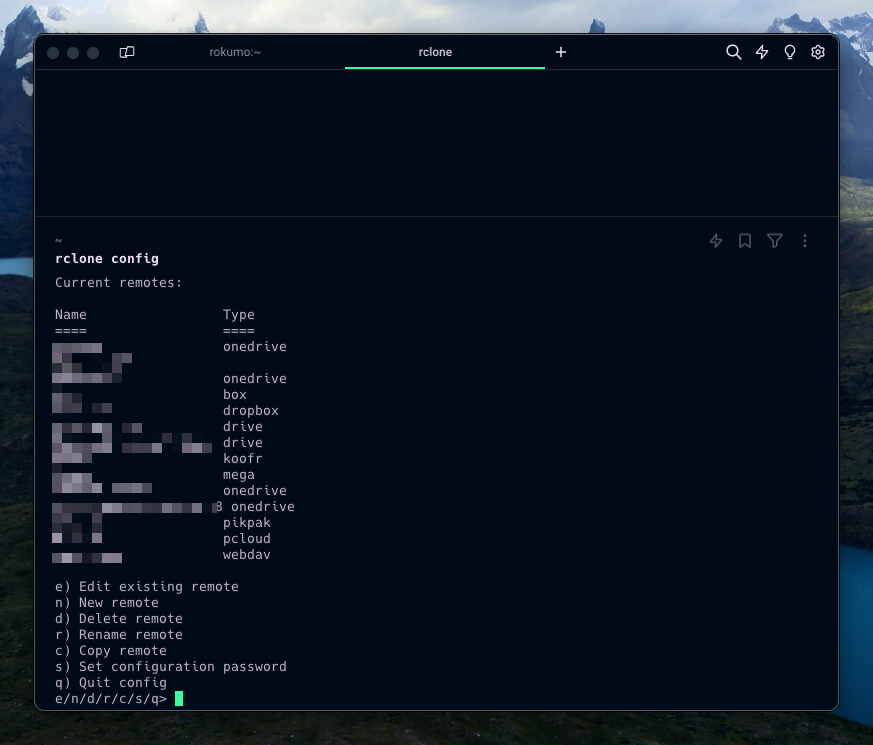
Step 3: List Pikpak Cloud Remotes
After configuring Pikpak Cloud with Rclone, you can list the remotes to ensure it was added successfully:
rclone listremotes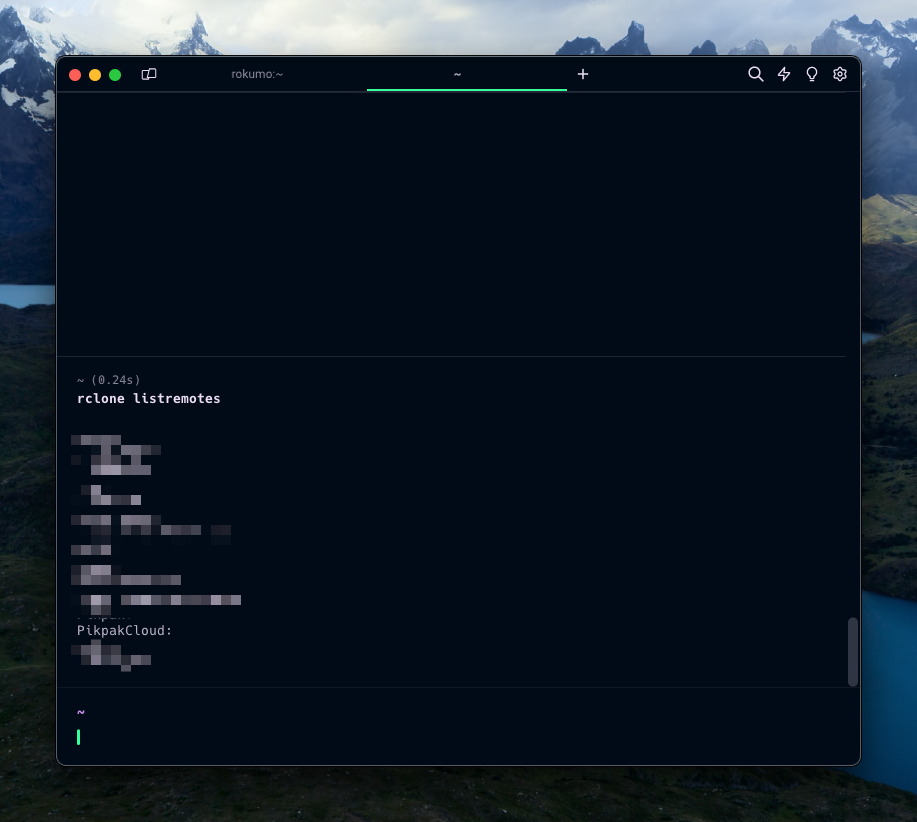
Step 4: Download a Folder
Now that Pikpak Cloud is configured, you can use Rclone to download a folder. Replace remote: and source_folder with your Pikpak Cloud remote name and the folder you want to download, respectively.
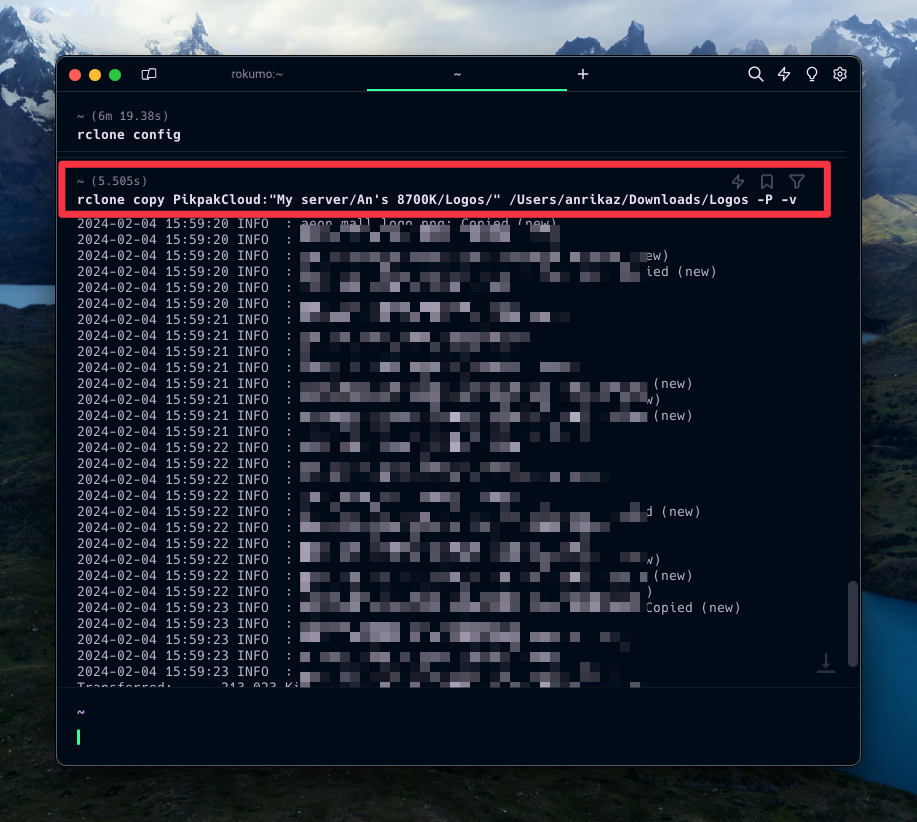
rclone copy remote:source_folder /path/to/destinationFor example:
rclone copy PikpakCloud:"My server/An's 8700K/Logos" /home/anrikaz/Downloads/LogosThis command copies the contents of “Logos” from Pikpak Cloud to the local “/home/anrikaz/Downloads/Logos” directory.
Conclusion
You’ve successfully configured Pikpak Cloud with Rclone and downloaded a folder. Feel free to explore more Rclone commands for additional functionalities and customization.
If you haven’t experienced the convenience of Pikpak Cloud yet, now is the perfect time to start! Register for a new Pikpak account using my referral link https://mypikpak.com/drive/activity/invited?invitation-code=38846150 and enjoy an exclusive offer of 5 days of Premium access without any limitations.